
A practical image-making guide / by Suket Dedhia
AI image generation, with direction.
Generating an image is easy. Making one that answers a brief takes choices about subject, composition, light, truthfulness and where the image will appear. Use this workflow to make those choices visible and repeatable.
Follow the workflow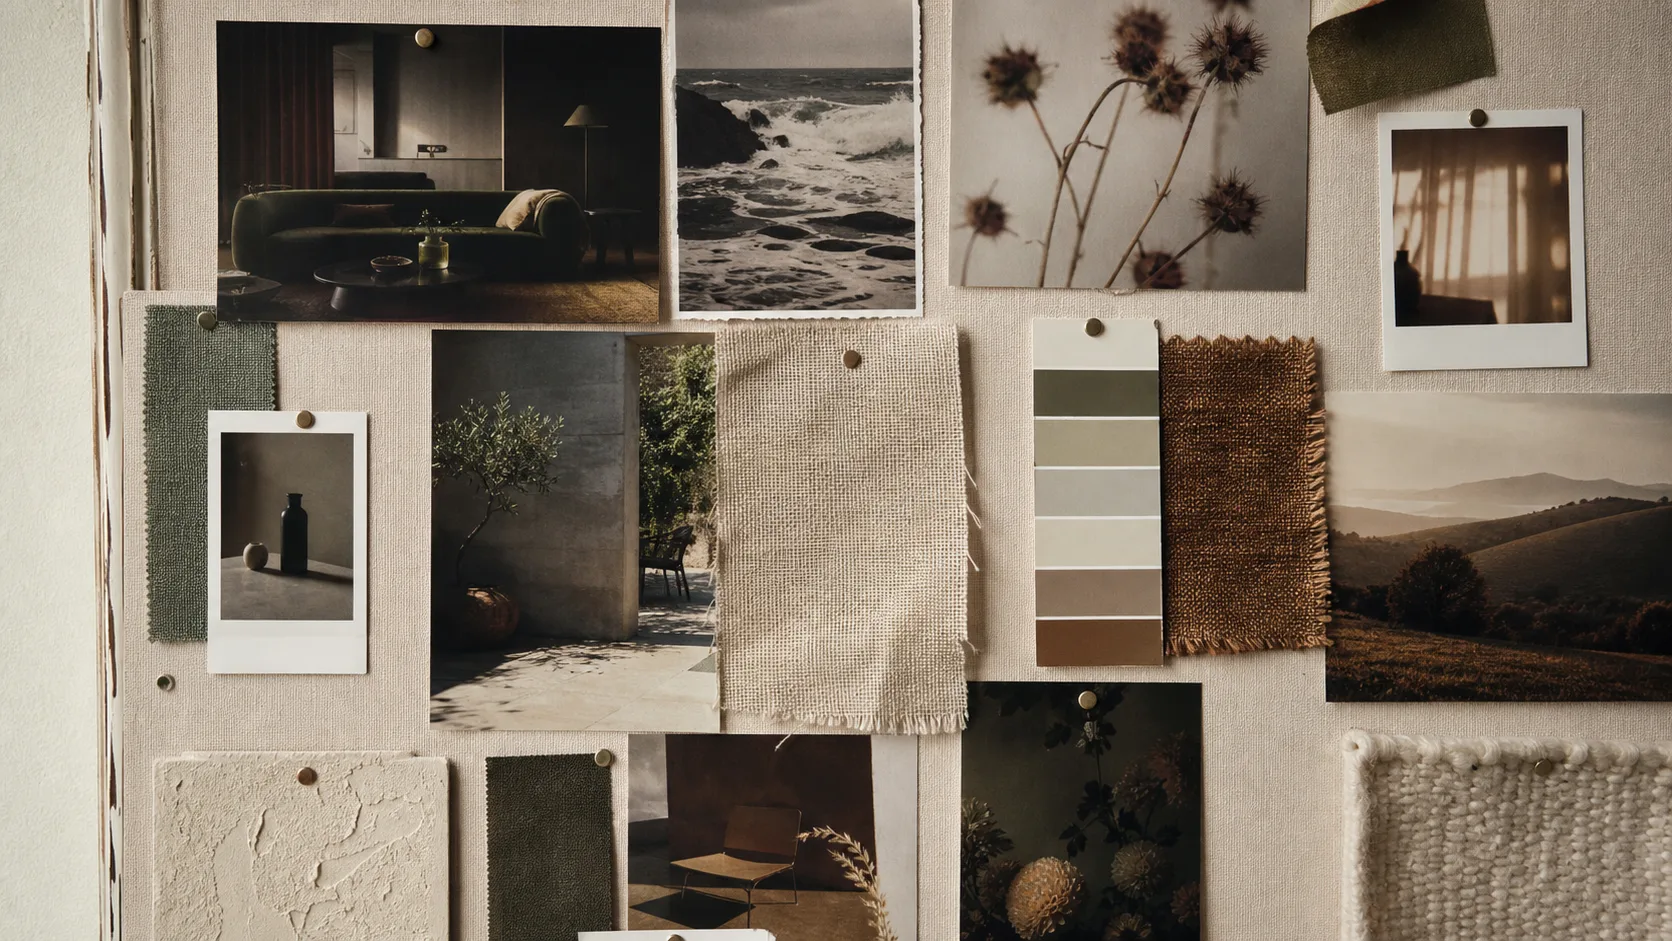
What is AI image generation?
AI image generation uses a model to create new pictures from written instructions, reference images or both. For a creator, the model is an image-making tool, not a source of facts about a real person or product. The strongest results begin with an intended use: a concept frame, an illustration, a storyboard, a campaign exploration or an image edit. Each use has different standards for accuracy, rights and disclosure.
A five-step AI image workflow
1. Write a visual brief
State the audience, placement and one thing the viewer should understand or feel. Then list the non-negotiables. For a fictional product concept, those might be a single object, warm side-light, a plain background and room for a headline. For an edit of a real photograph, preserving the person’s identity or the product’s actual appearance may be non-negotiable. If those details must be exact, compare against the original and do not treat a generated result as evidence.
2. Give the prompt a shot structure
Describe the subject and action first, then camera distance, viewpoint, lighting, material, background and output crop. A useful working template is: “Create [subject and action] for [audience and placement]. Frame it as [shot size and viewpoint], with [light and colour]. Preserve [non-negotiables]. Leave [space needed for layout]. Avoid [specific failure].” Replace every bracket with a concrete decision. A long chain of style adjectives is less controllable than a short prompt tied to the brief.
3. Use references as instructions, not decoration
Build a small board for light, composition, colour and material. Note what each reference contributes and what it does not permit the model to copy. For example, a window-light reference can define direction and softness without borrowing a real person’s identity. Our reference-board lesson shows how to turn visual taste into rules you can actually review.
4. Change one major variable per pass
First test whether the subject and composition work. Next refine light or material; then assess smaller details. Save the prompt and selected outputs so you can tell what caused an improvement. When the model changes the product, invents text or distorts a hand, name that failure in the next pass rather than restarting with an entirely new idea. Compare results at the size they will be published, not only in a large generation preview.
5. Review and disclose the final image
Check hands, reflections, labels, logos, text, physical consistency and the edges of the frame. Ask whether the picture still fulfils the original assignment. Keep source files and permission records. If a generated or materially altered image could be mistaken for documentary evidence, an actual event or an unaltered product photograph, label it clearly. Our creative-work disclaimer explains how visual studies on this site are presented.
Try it with one small brief
Make an illustrative image of a fictional paper flower on a yellow table for a vertical social post. Require one flower, soft morning side-light and empty space at the top for a title. Generate three versions. Reject any version with extra flowers or a cropped stem—even if it looks striking. Keep the one that best communicates the simple idea. This is an exercise, not a claim that a particular image on this site was made with those exact settings.
Where to go next
If you are editing an existing photograph, continue with the AI photography workflow, which focuses on comparing an AI edit with its source. If the images need to move together as a sequence, use the AI short-film guide. To see independent image experiments, explore Suket’s creative-work archive.
MAKE THE NEXT IMAGE
Use the brief as your test.
Start with a small assignment, save the options and explain why you chose the final frame.