A practical visual workflow / by Suket Dedhia
AI photography needs an eye, not a shortcut.
Use generation and prompt-based editing as parts of a photographic process: make a brief, choose a visual language, compare the output with the source, and decide what deserves to stay.
Work through the process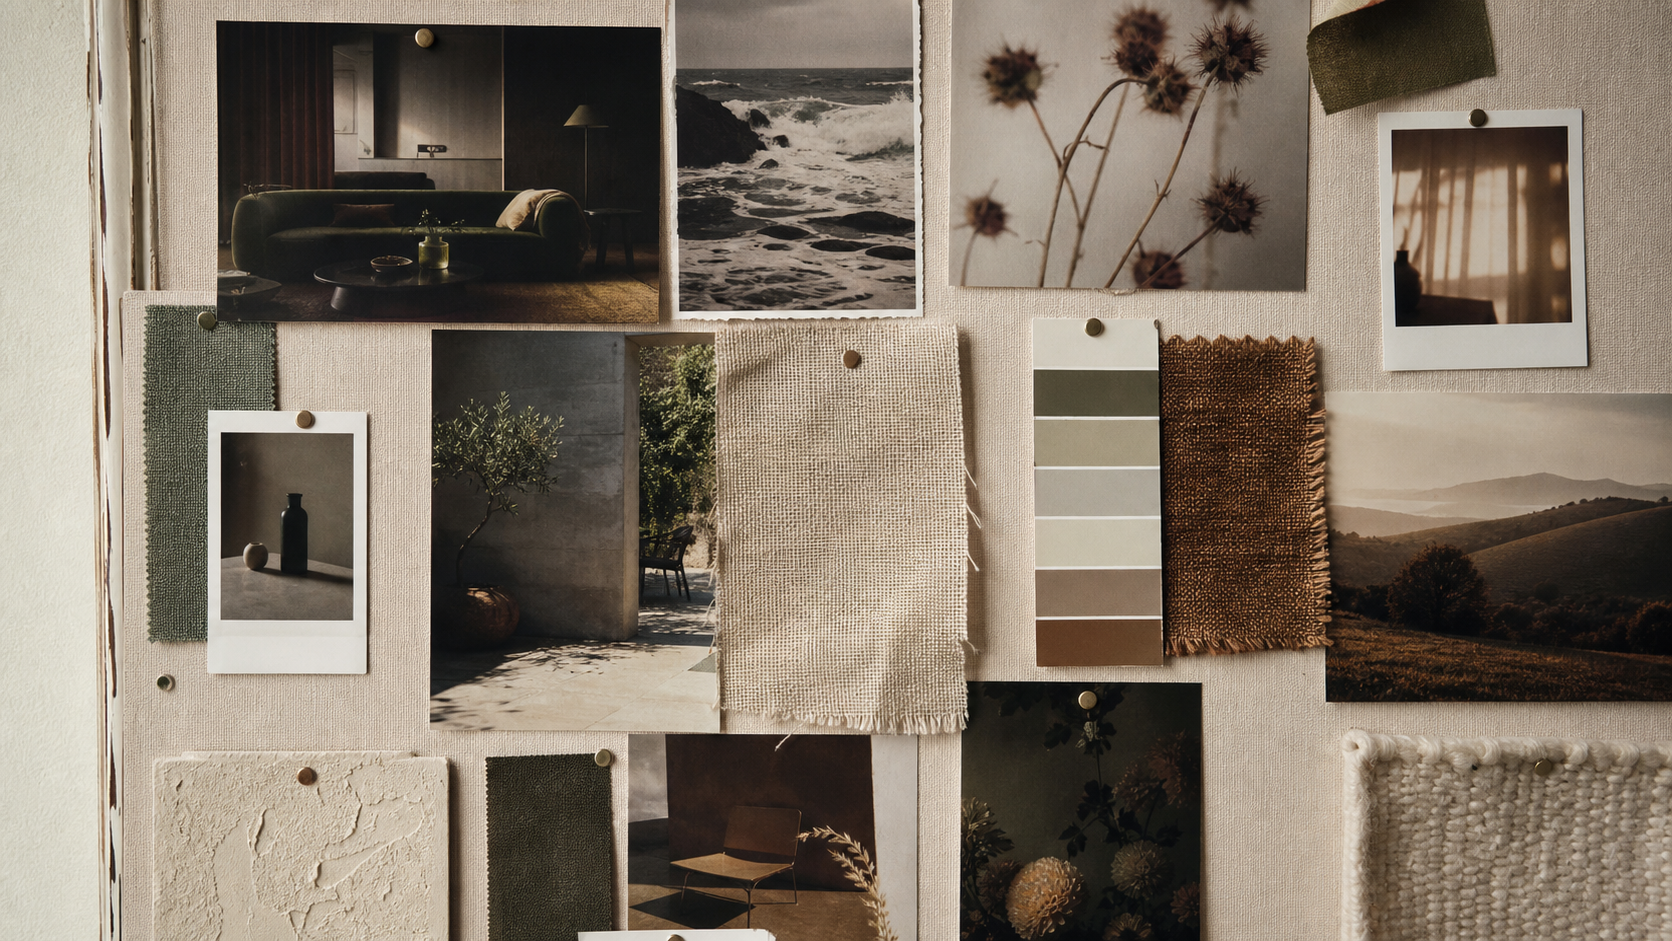
A photographer’s AI workflow
1. Define the image’s job
Write down the subject, audience, use and intended feeling. Is this an illustrative concept, an edit of a real photograph, or a product image? Those are different assignments. For a real product, keep the actual silhouette, label and claims accurate; do not let a generator invent details that buyers might treat as fact.
2. Set the visual rules
Choose camera distance, light direction, palette, background and crop before generating. Put a few references on a board and annotate what each one contributes. A soft window-light reference may guide illumination without telling the model to copy its person or room. A clear negative reference—what you want to avoid—can be just as useful.
3. Work in controlled passes
Test composition and subject first. Refine one major variable at a time where practical: light, material, pose or background. Keep the strongest version beside the brief so you do not drift toward novelty for its own sake. Record what changed and why.
4. Inspect, compare and retouch
Check the full frame, not only the subject’s face. Look for broken hands, typography, reflections, repeated objects and impossible shadows. If you began with a camera photograph, compare the AI edit against the original for identity, texture and the details that must remain true. Reject a dramatic result if it changes the assignment.
5. Publish with context
Export for the actual placement, inspect it at its final size, and keep the source and edit history. Clearly label AI-generated or materially altered imagery when the audience could mistake it for documentary evidence or an unaltered product photograph. Check permissions for any reference images you used.
Try one small exercise
Choose a fictional object or a photo you own. Write three non-negotiables, make three controlled variations, and select one only after comparing all three with the brief. Describe the change that improved the image—and one attractive result you rejected. The point is to practise judgment, not to generate the largest batch.
For more detail, use our reference-board lesson and our review of prompt-based editing in Lightroom. The latter discusses an early-access tool; verify current features in Adobe’s own documentation before relying on them for client work.
SEE THE VISUAL PRACTICE
What happens when the rules become images?
Explore Suket’s independent visual studies, then bring your own image-making question to the conversation.