
YOUTUBE / FIELD NOTE
How to Make YouTube Videos Sound Professional
A practical starting point for clearer, more intentional audio in YouTube videos.
A companion article to Suket Dedhia’s YouTube video ↗
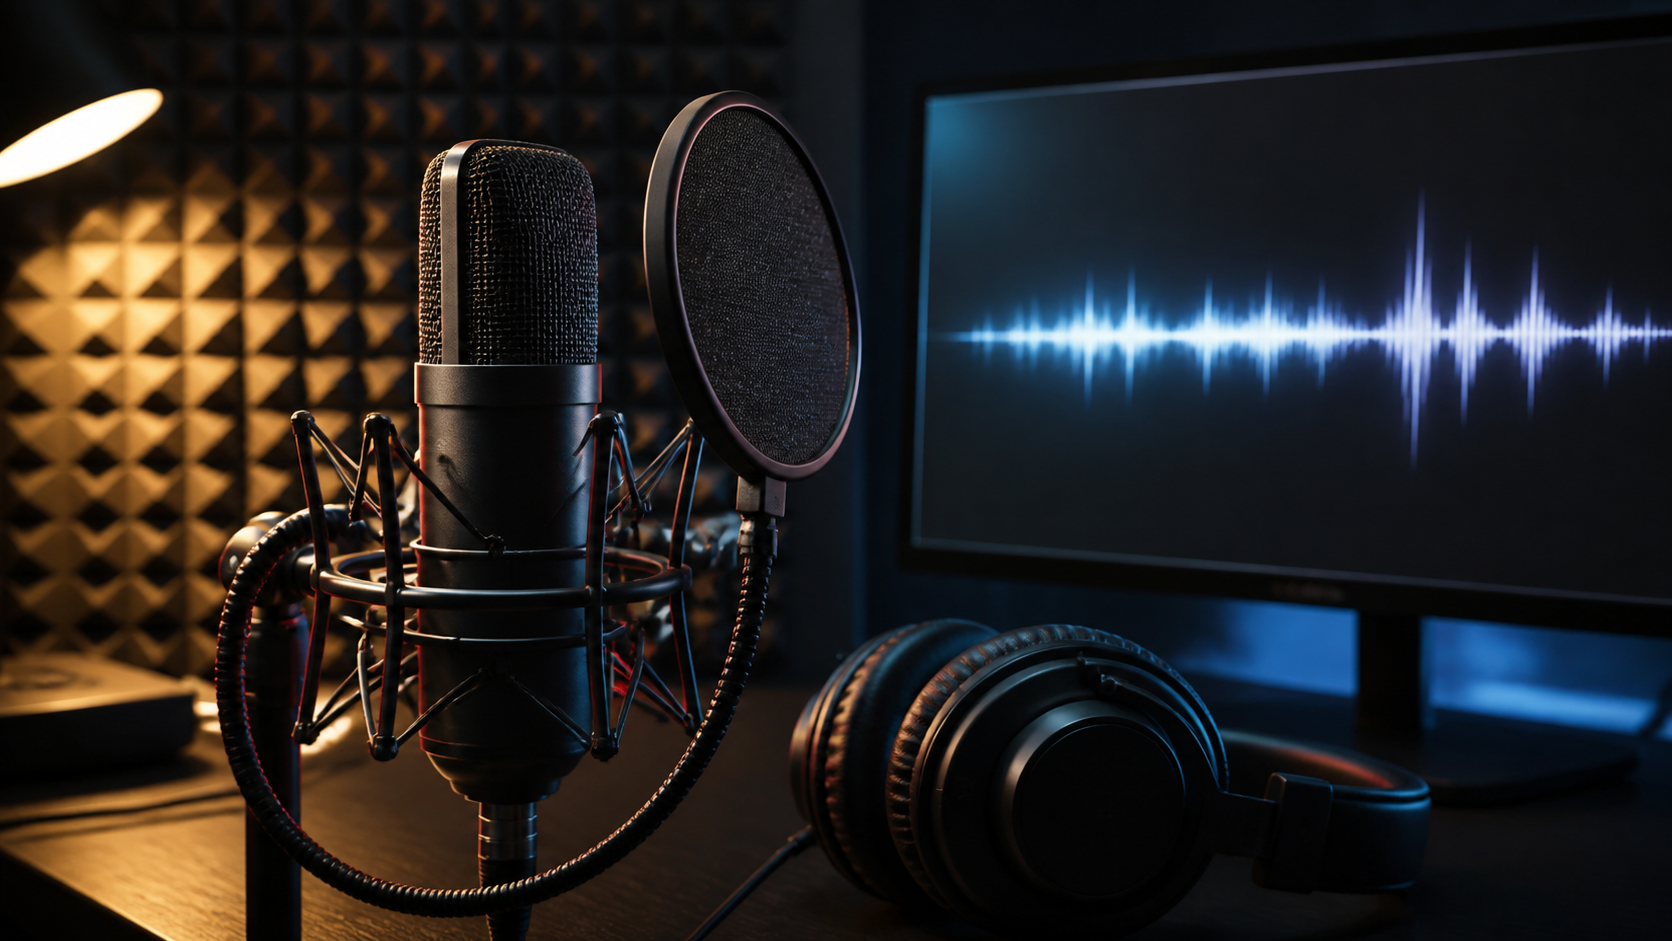
Professional YouTube audio is less about owning a particular microphone and more about giving every voice a clean, consistent place in the mix. This guide expands on Suket Dedhia’s practical video for creators who want clearer dialogue and more confident sound.
What this workflow changes
Record as close as the frame allows. A modest microphone placed near the speaker will usually outperform an expensive microphone placed too far away. Reduce reflective surfaces, turn off unnecessary noise sources and monitor with headphones before recording a full take.
How to build the process
Set conservative levels. Avoid recording so hot that peaks distort; leave room for an unexpected laugh or emphasis. A clean recording with headroom is easier to improve than a clipped recording that cannot be repaired convincingly.
Edit dialogue before adding music. Remove distracting gaps, soften harsh breaths only when they pull focus, and apply gentle equalisation or compression with a light hand. The goal is intelligibility and consistency, not a processed radio effect.
Make the final pass count
Use music as support, not camouflage. Duck it beneath speech, choose tracks with space in the frequency range of the voice, and fade between sections deliberately. Finally, listen on headphones, a phone speaker and a laptop. If the message survives each test, the mix is doing its job.
Frequently asked question
What makes YouTube audio sound professional?
Clear close-miked dialogue, controlled background noise, stable levels and a final check across the devices viewers actually use.
This is an original field note. Return to the linked video for the source demonstration, examples and context.